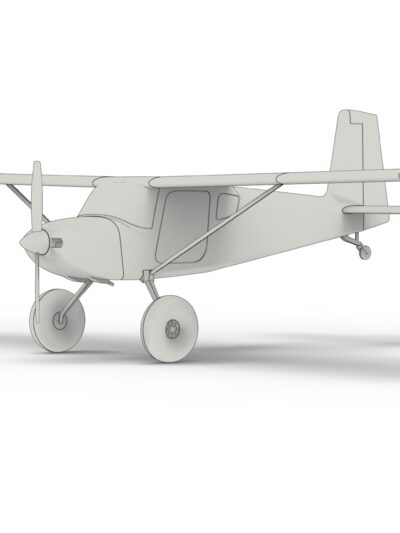
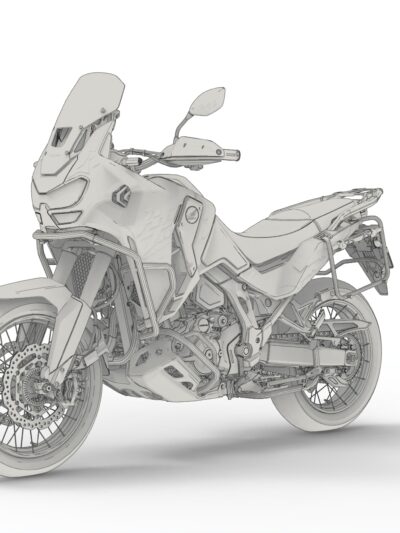
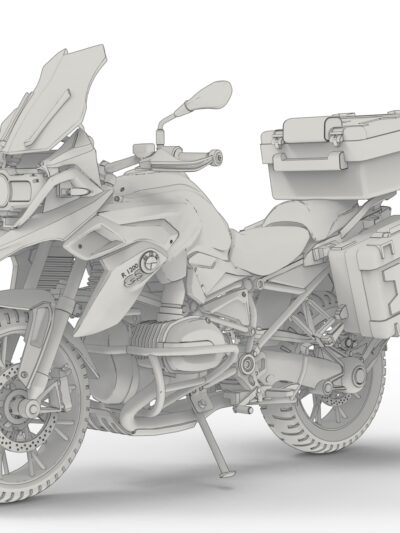
We design our models to make sure everyone with any FDM printer and any skill could success. From the feedbacks we had, we’ve decided to give you few tips and tricks.
First, this is not a guide to set or troubleshoot your printer, we assume your printer and slicer are ok.
#1 Isolate parts
To reduce files, we’ve grouped parts by sizes. Small / medium / large. The best way is to isolate small parts (prop, landing, assembly keys, fins) by 2 or 4 and bigger parts (wings, fuselage, nose) one by one. The best way is to combine with #2.
#2 Adapt layer sizes
We use 0.4mm nozzle, most common, so for best result we recommand 0.15mm layers mostly for prop, landing, fins or other small parts.
Bigger parts like fuselage or wings could be printed with 0.15mm but 0.2mm works fine. if your slicer manage adaptive layers you could use this option. You could also group parts by layer size.
#3 Low infill
Our models doesn’t require high infill, 0.8mm wall thickness 5% is enough for the whole models. For models like Robinson helicopters, be careful to have the option “insure vertical shell thickness” on to avoid holes between layers.
#4 Seams
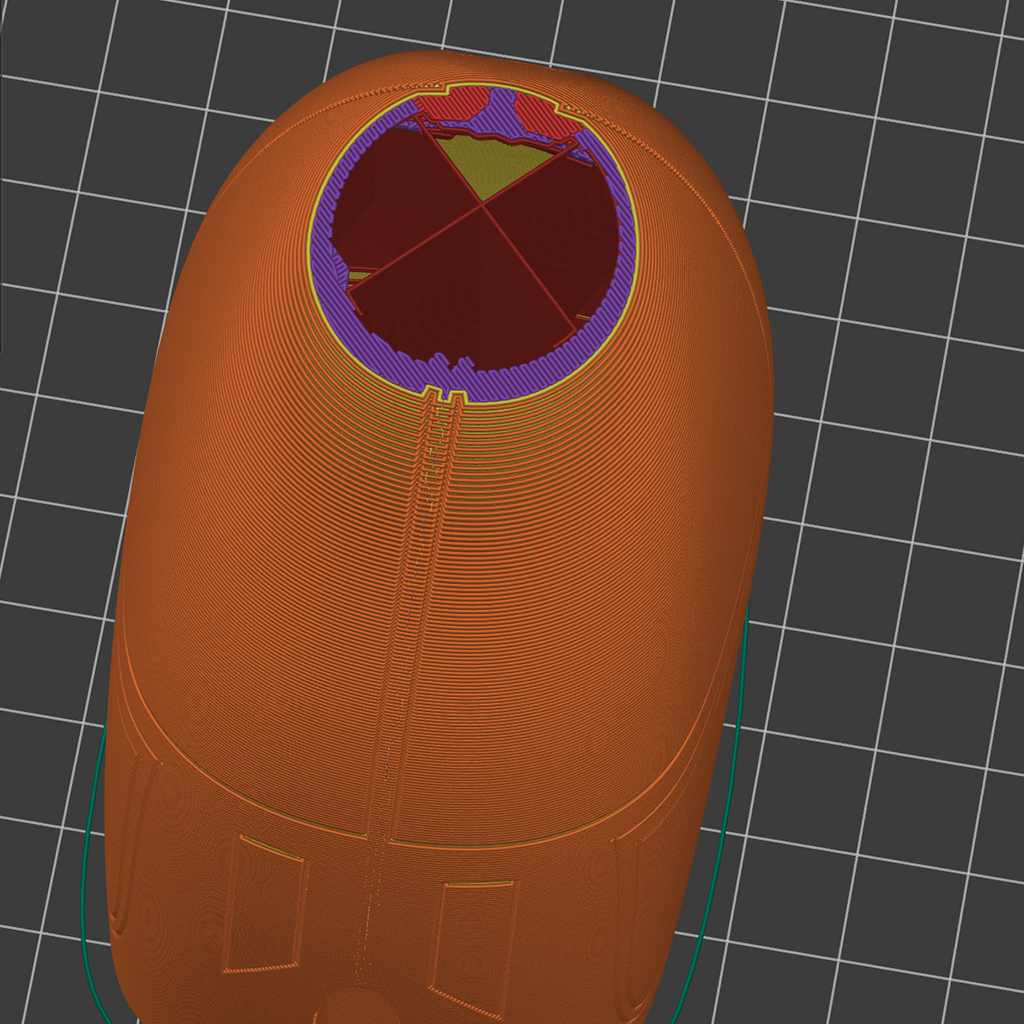
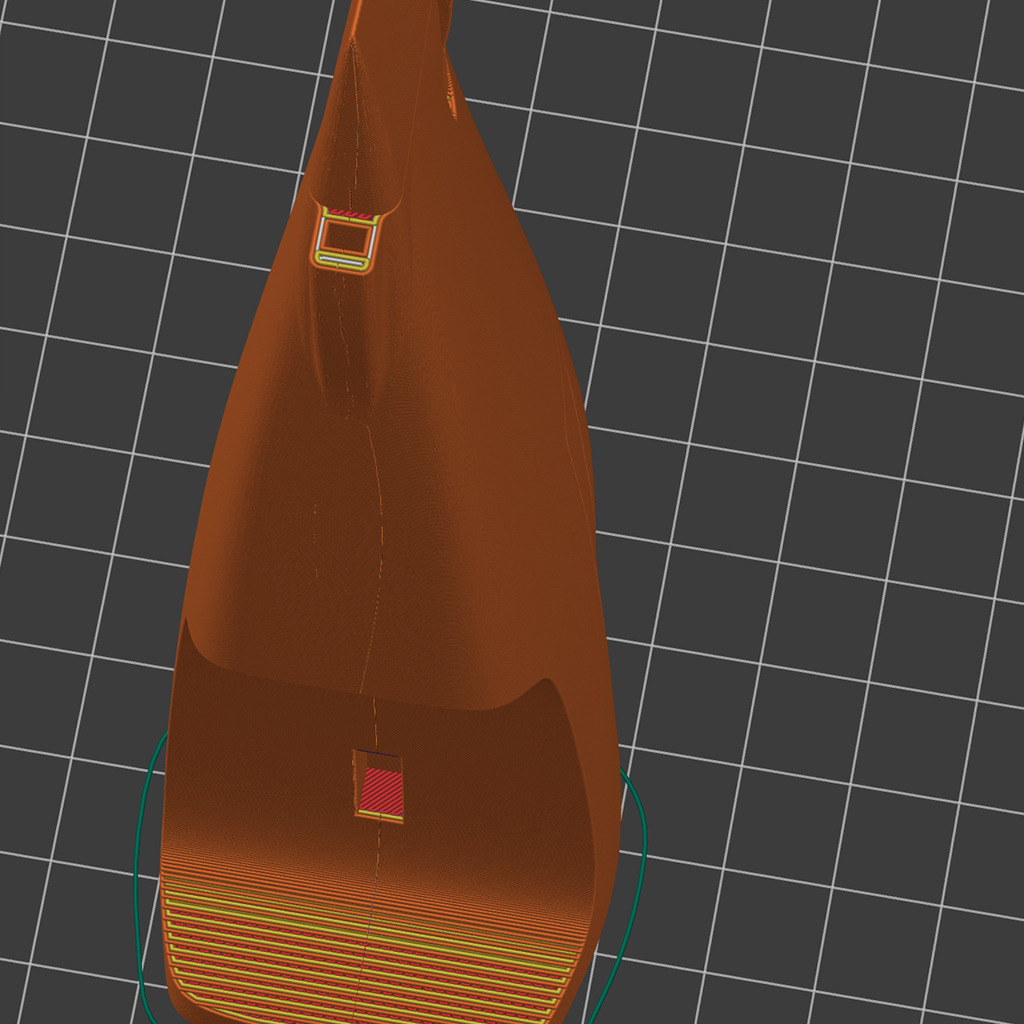
For most of the parts, random seams is ok but for fuselage or body we recommand rear seams. Once the model done, the seams will be underneath the design. Just well rotate the parts on slicer before slicing.
#5 Let cooldown
Once the printing ended, we highly recommand to not remove the part(s) from bed right after. Let the part(s) on bed cooldown to ambient temp. That will prevent from deformation of small part(s) and will make it easier to remove without damage.
#6 Plastic glue
Every parts has small plays, that way let you fine adjust the fitting. Using slow dry plastic glue gives time to do it.
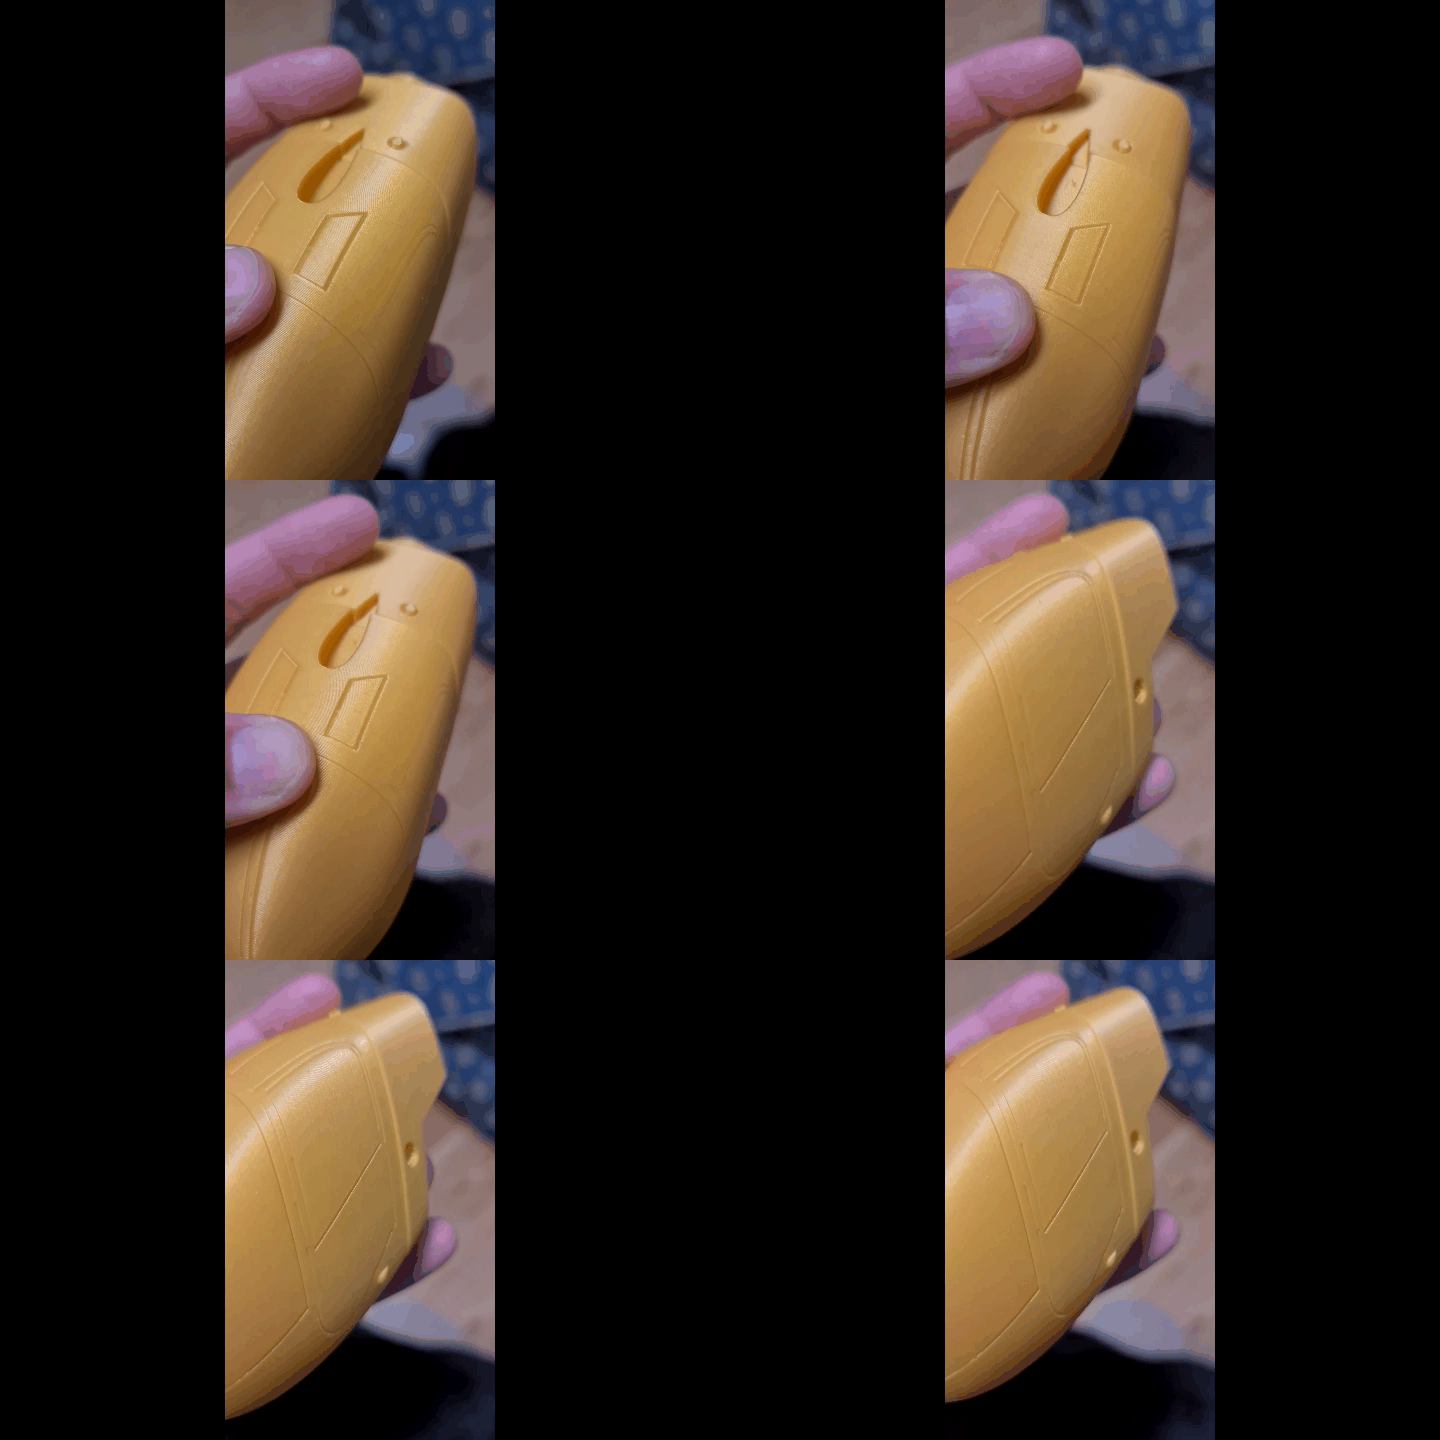
So if you follow that quick tips, you should have perfect models to stand on your desk ! In case of more troubles, let us know.
Want more ? Checkout the second part “High precision & small parts printing“
See also :
